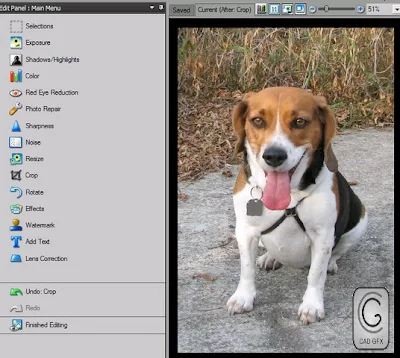
1. I'm using 4x6 photo of the best dog in the world.

2. This is what it looks like with the default vignette tool.

3. Now, we'll start to make a new rectangular vignette.
- Start the selection tool
- Pick the rectangular marquee tool and draw a rectangle around your subject
- Invert the selection. Now the marching ants look like a frame. Click Done.

4. Start the Exposure tool

5. Select the curves tool and grab the curve on the upper right and drag it down to the bottom. This makes all pixels in the selected area go to black.

6. We've made a frame, but it has a harsh edge. Use the feathering option at the top to soften the edges to what you want.

7. Apply the changes and clear the selection. You're done!

Here's what custom vignettes look like compared to the default vignette tool. I used the ellipse selection tool to create the oval shaped effect.

